This is the first blog challenge I have ever done. It was great fun, so thanks to Emma at Puddle Side Musings and Myra from Those Secrets We Keep for suggesting it. The challenge was to make a paper bag book, any style. Actually just checking back I see the word used was ‘album’ but I now have ‘book’ in my head.I think they are the same thing! I watched the videos on Emma’s post, and then another popped up, which was the one I ended up using as my starting point. Fingers crossed this works…Beware of the volume if it does!
I liked this challenge because I had all the supplies I needed to get going. Having said that, almost EVERY project for anything I see on YouTube or US blogs mentions ‘I got these at Michaels’ or I got these at Home Depot‘. Can these stores please think about branching out to the UK? Particularly South London? I can give you a post code….I can rent you a room…
Anyway, as luck would have it I have a sack of brown paper bags. What can I say? I was going through a rustic phase with gift wrapping, plus I fell for the bulk buy discount. Badly. The good news is I now have a new use for them!
I also had an old SEI kit called Bridgeport, (almost) still unused, so I didn’t have to think about matching papers, which saved a lot of faff. These are not my usual colour palette but I do like them a lot.


So, what did I learn as I was going along? Some things are obvious, some not so much.
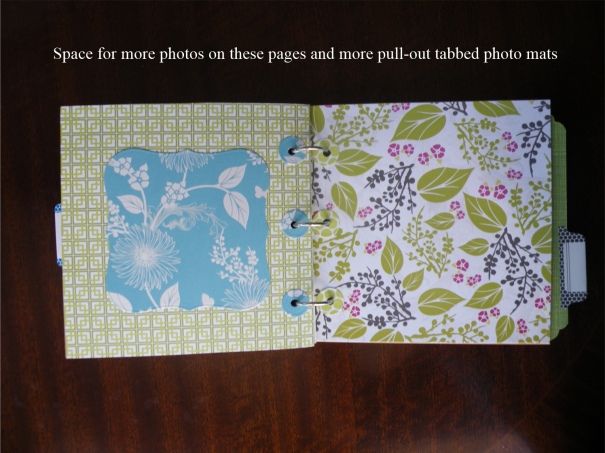
Firstly, think about what papers will face what in the finished book. Obvious to scrappers, maybe not so much for card makers.
Crease, score and score again. All the time.
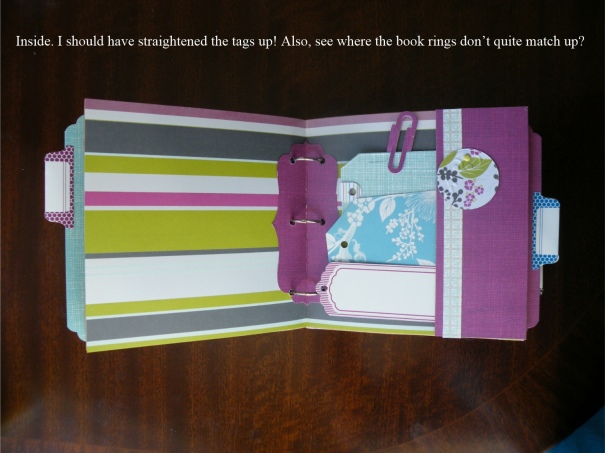
If you keep the page order as ‘tuck in pocket’ (the bit I have the tags in) first and larger pocket (photo mats) second it will be stronger at the covers. The video I followed didn’t do it that way. I realised this, was dead proud of myself, then forgot to do it.
If you are a bit of a sieve-head like me sometimes, make a note of thing like this in case you have an overnight brain wipe.
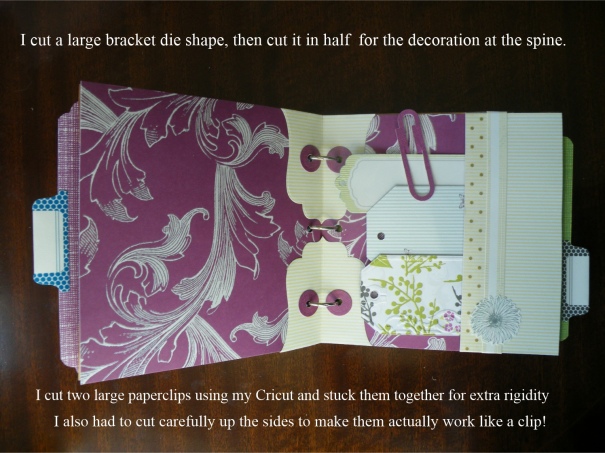
If you use die cut shapes to add detail to the centre join then use your tool to score the fold line here too as this makes a better crease.
Square it up every now and again – mine is a bit off but liveable with.
I messed up with the hold punching. I thought I had it sussed, and this was the plan.
1. Measure and punch the holes in the middle section of the book.
2. Use these holes as a guide for the front and back sections, so they should all line up ok.
This is what actually happened.
I measured in a bad light, so the top and bottom holes are not quite evenly spaced.
The guide bar on my Big Bite slipped and I didn’t realise so hole number three in the middle section was significantly out of whack.
Small hissy fit. And some sulking. And some sleep.
A grip was got. I re-punched the hole in the correct place, even though it joined up with the offending first hole. I die cut a multitude of circles from scraps of the papers and then turned them into hole reinforcers by punching a circle in them. These covered up the mistake a treat, and to be honest are probably a good idea anyway so I used them pretty much all over.
Some details:
The video I watched said to use three bags. I think I could have got away with another, especially if I made a kind of band to go around it vertically at the fat bit, which I think would look good. The papers I used were partly embossed – almost plasticised for some – and this made them extra bouncy. If you don’t want that look, go for totally flat, no texture at all.
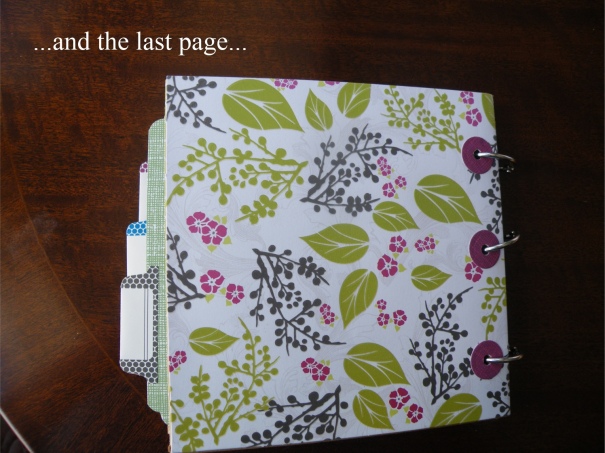
I am not sure it is completely finished yet: I might add some ribbon to the book rings, maybe. It is quite simple but I will try making another in a vintage style and might try loading that one up a bit more with embellishments and the like. It took some time to do, but really was great fun and I would love to make more. The best bit about it? The lovely squashy rustling paper noise it makes. Bliss.
