Lickety Split: If I were a dinosaur, I would be a velocowrappter….

Gift wrapping seems to give so many people stress, and at this time of year it is like immersion therapy for the daunted. I will happily hold my hand up to being a gift wrap nerd. I love to wrap a present, to make it look pretty, or fun, or glamorous or just different. But I am not one of those who can tie an immaculate bow, and I dont use the most expensive gift wrap, just whatever the high street stores have to offer.  The gifts don’t have to be perfect, or ‘shop style’ or works of art. ‘Pretty’ will do fine! Dont get me wrong, if I could spend bazillions on wrappy stuff it would ABSOLUTELY happen. I once heard that the Spelling family (of TV and/or movie fame) had a gift wrap room in their house. I swear I have never in the whole of my life wanted to be someone else more than I did right then. But now I have a craft room and maybe that is better!

Gift wrap is my spiritual home as a crafter. However, I have been told so often by people that they struggle with it. I can’t think how many times someone has handed me a gift and apologised about the wrapping. Well, they should NEVER feel they have to apologise. It IS the thought that counts and a person shouldn’t feel pressurised into striving for some kind of perfect presentation. Realistic and achievable will do nicely, if someone wants to give it a go. But if is just not in their skill set, who really cares?! Not me, for sure.

But, if you are despondently soaking your paper cuts in antiseptic before taking another deep breath, maybe also a fortifying swig of mulled wine before getting back in there amongst the paper rolls and curling ribbon, here is a little something that might help.

The PaperPuff Pockety Pouchy Thing. Yes indeed. So maybe the name needs a little tweaking. Bear with. Imagine you have some little presents for the girls at work. Maybe some hand cream tubes and a nail colour, or body lotion in a squeezy bottle, that kind of thing. Or male grooming products. All lovely gifts, but a struggle to wrap. Now this won’t be pristine angles and hospital corners, but it is easy, it works, and it looks fine and dandy. Plus, it takes just a few minutes.

Lock and load.

This slideshow requires JavaScript.

So, now there are plenty of options to close it up. You can:

Cut the edge with fancy scissors (or you could have die cut the edge at an earlier stage if you wanted), cut or punch several holes, or just two holes, and thread some ribbon through, or even a strip of paper

Use pretty pegs or clips to fasten it

Here I have just done the simplest thing. I folded the top open edge over twice to the back (neat edges = happy) and then knotted some organza ribbon around it.

This really takes just a few minutes and then you can add whatever embellishments you fancy! I like tiny baubles/ornaments, jingle bells, candy canes or chocolate coins, or sometimes a bit of real evergreen and a pine cone.

wrapping-final

Sorry some of the pictures are a bit blurry. I think my eyes need polishing. The basic idea is just to create your U shape and don’t worry about the height of it: it can be shallow or tall, and longer on one side than the other is also fine! I only wrapped one item here, but you can wrap several things together and you can always secure them to the card with a bit of sticky tack, or tape if it makes it easier for you.  This isn’t meant to win us any competitions, after all, just get us through Christmas!

Hope everyone is having fun, or at least surviving anyway!


It’s Christmas! Welcome to Disaster Central!

Anyone feeling a bit stressed? Under pressure? Fretting that you have forgotten something vital? Or that with the holiday season upon us, something is surely bound to go wrong?

Well, here’s a thought. Despite the most meticulous planning, or maybe only haphazard planning, or no planning at all, disasters may well happen. The trick is, how to deal with them. Sink or swim. Rise above or drown in an eggnoggy mess. No matter how much we all run around, planning, making list after list, crossing things off, adding more to the bottom; no matter how many genuine and ‘emergency’ presents we buy; no matter how many cakes, cookies or pies we make; or extra rolls of gift wrap we buy and don’t even use; Something. Might. Go. Wrong. And guess what? It’ll still be FINE!!!

So, in the bloggy spirit, it occurred to me that if we share some Christmas disaster stories ahead of the big day, and if you are unfortunate enough to meet with a planning/gifting/cooking/family/whatever trauma, well maybe you will find a bit of solace by remembering that it is not only you, it does happen to everyone and it is not a big deal. I think I may have kinda stolen that last sentence from ‘Friends’, but changed it up a bit.

Anyway. I get to go first. These are some of my seasonal potential dramas, that in the end just become anecdotes. Some happened to me, some have been recounted by friends and family.

A former colleague, not a big fan of Christmas, or cooking, and with a family that were not big on tradition, told me how one year she was so ‘anti Christmas’ that she rebelled and just served food from whatever was left at the bottom of the freezer. I think I remember her mentioning curry, sausage rolls, savoury pancakes, garlic bread and smoked fish. Oh, and sandwiches. Maybe they were dessert. The following year she felt bad, so decided to be a bit more conventional. She ordered a turkey from the local butcher and collected it late on Christmas Eve. Imagine her surprise, on unwrapping it, to find the turkey only had one leg. Apparently it was really hard to balance it in the roasting tin and her family never believed she hadn‘t done it on purpose! Still, this is the woman who thought her budgie had died overnight because he was hanging upside down from the perch in his cage. Turned out the sandpaper they wrapped around the perch to give him a grip and keep his claws trim had just come loose…

My sister, about to spend a first Christmas with her boyfriend’s family, arrived on the day to find her prospective mother-in-law defrosting the turkey with boiling water, in the bath. Side dish of salmonella, anyone? I think they ate out.

Years ago my sister and I shared a flat for a while. We were keen to have Christmas dinner there, hoping to give our parents a treat as neither of them enjoyed cooking much. So we spent loads of money in a posh London butcher shop getting turkey and a ridiculously oversized ham (neither of us were good at working out how much was needed and the butcher clearly had the £ signs in his eyes). We had instructions to soak the ham in a bucket of some solution (I can’t remember what. Brine, maybe?). So we took out a second mortgage to buy a large enough bucket and followed instructions. On the day, our parents warily eyed the ham swimming in its watery world and looking like a half finished biology lab specimen. They asked us, carefully and kindly, what we had done. We happily assured them it was all under control, and the ham had been soaking in the required liquid, for the required time. Then one of our parents mentioned that it just might also need to be cooked….

I can’t remember exactly how old I was for this next one. I think mid-late teens. Dad got locked in the bathroom on Christmas Day. Now, for non-Brits reading this, you need to know that, certainly back then, most UK houses had only one toilet, and it was often in the same room as the bath and/or shower. Not many ‘en suite’, guest bathroom or downstairs cloakroom facilities were around. So, aside from our obvious concern about the dilemma Dad was in, we all had our own comfort break situations to consider. And of course teenage girls need mirror time too! Anyway, the lock was not budging, and could not be taken apart from the outside. A huge call-out fee was looking on the cards, but there was no guarantee you could even get anyone to turn up. Dad was pretty cross. But then, all those Enid Blyton books came to the rescue! We fed yards of string under the door and told Dad to hold the string out of the bathroom window. We tied a screwdriver onto the string, to be hauled back up through the window and escape achieved! Christmas, and comfort breaks, all saved!

And then, of course the surprise Christmas guests. My sister and I, and our other halves are at my parents and close to serving up lunch on Christmas Day. The kitchen is a hive of activity. The doorbell rings and a young couple appear, laden with port, stilton and champagne. Hmmmn, odd. Five of us have never seen them before in our lives. My dad, though, does seem to know them, brings them in and offers them a drink. Well, it is Christmas, right? Dad stays chatting to them for a few minutes, whilst there is an increasing amount of confused faces and stage whispering going on in the kitchen between us womenfolk. The other menfolk retired to the garden with beer and cigarettes to enjoy the unravelling pantomime through the windows. Dad eventually made it into the kitchen. The word ‘sheepish’ has never been more appropriate. It turned out, that as the couple didn’t have family in the UK, my dad had invited them to Christmas dinner weeks ago. A lovely thought. Except he had forgotten to mention it to mum, or anyone else, and had forgotten it himself too until they showed up!

So, quite a lot more stage whispering, extra vegetables deployed, frantic table laying adjustments and a rehash of a smoked salmon starter into a smaller ‘amuse bouche’ and we were fine. And hey, we have Irish heritage so had done enough roast potatoes to feed 20 people anyway. Actually the couple were great company, very entertaining and an absolute pleasure to meet. And afterwards they even named a racehorse they trained after my dad.

So, sometimes the disasters are really not that bad. They give you a story to tell at least!

Anyone else got a Christmas disaster or two they would like to share? C’mon! The stage is yours….


3D Thursday: on a Friday. Because thinking can be dangerous.

Yes, I am a day late with this post. May the gods of Blogland forgive me. Apparently there are one or two other things going on at this time of year….

Christmas cards are finally finished (hurrah!!), including some last minute ones for my sister. I was happy to make them for her, until there was another cat-and-die related incident. As I was cutting out 60 individual fairy lights with the smallest die known to man (1cm x 1.5cm, and a tiny part of a much larger set) I randomly thought ’How awful would it be if I lost this die? I wonder do craft companies ever let you buy replacements for individual dies? If not, they really should….’. Then the cat decided to jump up on my desk, at the opposite end to where I was working. Normally this is fine, but this one time he got the maths wrong and launched himself and several small ink pads I was using onto the floor. In my haste to make sure no inks opened and stained the carpet, and that the cat was ok (only his dignity was ruffled) somehow I lost the tiny, tiny bulb die. And spent TWO HOURS looking for it. Eventually I found it of course, several feet away from where I had been, in a box of cards that were finished and ready to go. I really should learn to think less, because the consequences can be dire.

So, my schedule was thrown out a bit. But, as I was clearing my workspace up I decided to use some of the card making leftovers to make bottle tags, rather than just throw them away. It is probably a crime against glitter paper to send it straight to recycling without ever being given its moment reflected in the twinkle of a Christmas light.

xmas-bottle-tags-trio

These are the same measurements as I used for the male bottle tags I posted before. So. 6cm wide, 21 cm long (which is the width of A4 card); score at 6cm from the top and die cut or punch a hole in the 6cm square you have made with your fold line. Super simple. I ran a couple of them through an embossing folder and cut a pennant shape at the bottom. Then just chuck on anything you have carefully select your embellishments and sentiments, a bit of the sticky stuff and you have busted some scraps in no time at all.

xmas-bottle-tag-santaxmas-bottle-tag-goldxmas-bottle-tag-reindeer

Cheers! I could do with opening that fizzy stuff right now!


Little boxes

Where did December go? Am I the only one that seems to have lost a week somewhere? I need to get a wriggle on!!

Just a quick post, an escape into Blogland before I go back to the ‘to do’ list. That list has magical qualities. No matter how much I cross off it never seems to get any shorter.

This Christmas card offering is from the Craftwork Cards Petite Glitzy Villages kit. I thought they would be quick and easy, but a little bit different and fun too. However, one should always do the research before purchasing! The sections with the houses on them are just printed squares, so if you want the diorama look, you have to cut around the houses and trees. I have mentioned before that I am NOT good at cutting out, and I don’t find it relaxing. So thin, fine detailed fir trees, plus a bit of time pressure meant I was starting to lose the will to live by panel number two. Reader, I fudged it. I cut around the house for the front panel (even I can manage a boxy shape) and applied severe (terminal) landscaping to the trees by chopping them off completely. Then I pulled out my trusty Clearly Besotted Tree Landscape die, cut it in gold and fixed them behind the house panel to replace those I had made into firewood.

The picture of the finished card on the kit also had a gold starry background, but you can only achieve this by sticking the panel with two houses to the very back, thus limiting your layers. Or else use this panel twice and reduce the amount of cards you can make with the kit. So I ended up making my own snowy background with the Avery Elle Falling Snow die I have used for many a card this year!

petite-glitzy-villages

So, a bit of a hybrid, and not quite as quick as I had hoped, but I like the overall effect. Also they fold flat to go into an envelope, which is a big plus.

Hope everyone is doing better with their Christmas preparations than I am!


3D Thursday: salty baubles. Really.

Thursdays seem to be coming around quick these days. Today I have another home made Christmas bauble/ornament to share. I have a bought a lot of fancy tree decorations in my time, and one of the favourites is the inspiration for this project.

Again I have used the kids toy balls that my sister covered with papier mache. This time I coated it with Brilliance Cosmic Copper pearlescent ink. The ink was still tacky after two days, which is odd, because it should dry on non-porous surfaces. As the next step was to paint on diluted pva I was worried it might slide off with the glue, but it was ok. So, I used approximately 2 parts glue to one part water and, resting the ornament in a votive candle holder (like an oversized boiled egg) I painted the glue on from the top to about 2/3rds of the way down. I had already decided to go for a rough edge and leave some of the shiny copper showing at the bottom. Partly a design feature, mostly practicality!

Then, the really quite astonishing bit – I threw Epsom salts over it! Honest! And look, you get this rather nice icy effect where they stick to the glue. Proper chuffed, I am. Also, clearly, becoming Yoda again.

salted-bauble-1

I then made a couple of holly leaves from sheet music, distress inks and good old Smoky Quartz glitter, my ‘signature’ glitter shade this year! I bought a book of sheet music for craft purposes years ago. I think the sales assistant was confused by my reply to the ‘can I help you?’ question. ‘Oh yes, please. I need a big book with music that has LOTS of notes in it’. I expect the word ‘philistine’ popped into their head. Or maybe just ‘pleb’.

I tied the holly leaves on with garden twine and job done.

You can see the ‘blank’ ornament in the pictures above. Also, I finally have the tree up! No decorations yet, just lights. And one salty bauble, of course!

If you try the Epsom salts lobbing technique yourself, my top tip would be to stand the object to be a-salted (sorry) in a container which has quite high sides because the crystals ping around all over the place. I used a large cooking saucepan in the end, which did the trick nicely.

Hope everyone is steaming ahead with Christmas projects and chores!


S’elf’ish shopping

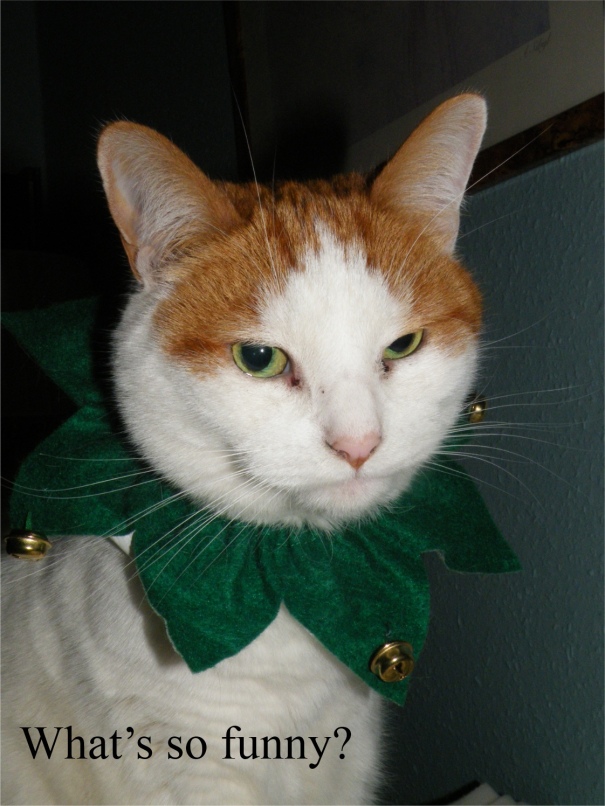
This is why I need parental controls for internet shopping. In my email I came across a spanking little elf outfit for cats or small dogs. It cost a couple of quid, free p&p and before you could say ‘disgruntled pussycat’ one was in the post.

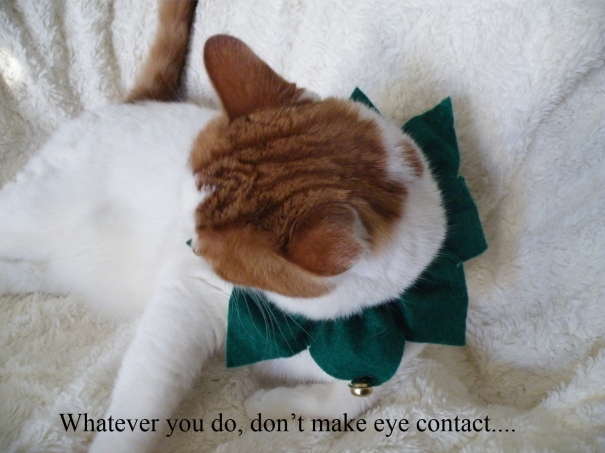
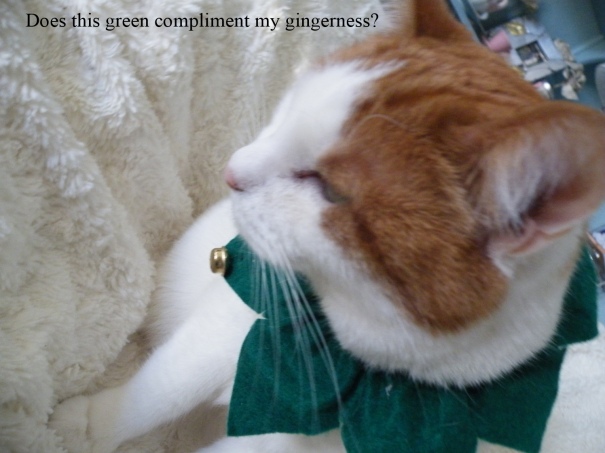
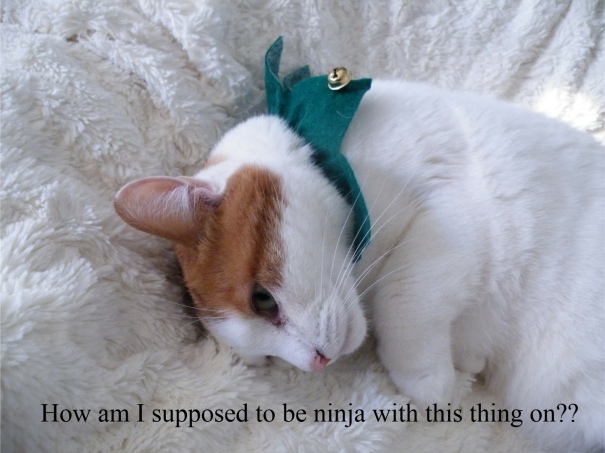
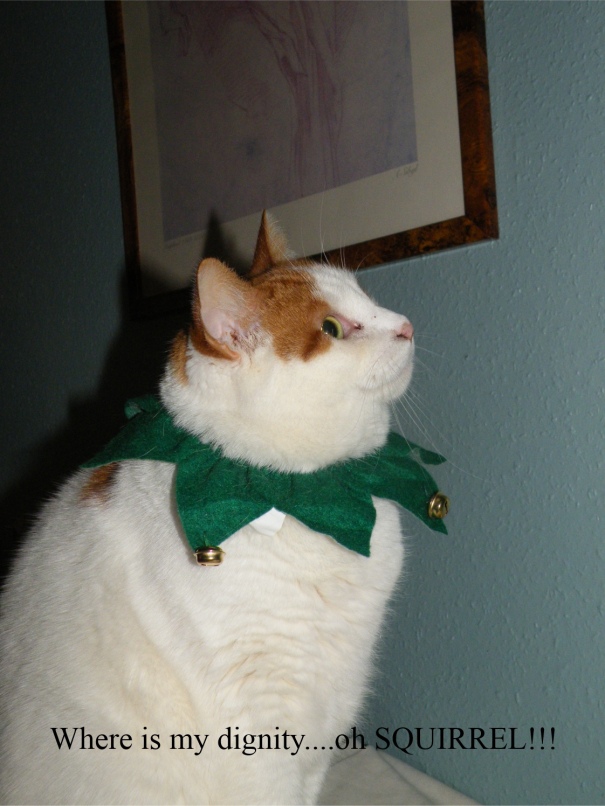
I am not one to routinely dress the cat, but I had a brief moment of optimism here when I thought I might get some cute pictures for next year’s Christmas cards. Totally forgetting of course that cats will pretty much do what they want, and you can’t easily make them pose for any photo, let alone a shoot in good daylight, on a nice rug or cushion. Throw a bit of fancy dress in there and you are channelling Pollyanna big time. It is definitely more ‘carpe diem’ than Annie Leibovitz.

The outfit arrived on Saturday. It is just a hat and a collar with bells on. So, collar has to go on first or you will knock the hat off. Easy. The elf collar is elasticated and quite loose, so certainly not going to constrict in any way. I know that if you want to do something to a cat (flea it, worm it, medicate it, put it in a costume for you own entertainment) then it is best NOT to give chase, but bide your time. So, Riley (the cat) is dozing on the sofa. I had already let him sniff the hat and collar when they arrived so they were familiar. Pretty much any new item needs to be sniffed. Now I just gently popped the collar over his head. So far, so fancy! Then we went for the hat. I knew that the hat was aspirational (for me) and probably never going to work. I was not wrong. Nor was I quick enough to get a photo of the walking backwards (why do they think that will help?), or the rapid flurry of paws that speedily dislodged the offending headgear.

Maybe I will try the hat again. I will leave it lying around, see if he gets used to it. But I am not going to push it. His dignity must be considered!

I don’t think he liked the collar as such (judge for yourself from the following pictures), but he was ok with it and didn’t try to pull it off or run away. Maybe he just needs some time to earn his stripes!

elf-1elf-ginger-2elf-ninjaelf-2elf-squirrelelf-funnyelf-surrender

Ah well, there’s always next year.


Christmas Countdown

Everyone beginning to feel a little bit festive? Heard your first Christmas songs on the radio? Starting to think about how on earth you will serve the sprouts in the hope of making them palatable this year? Or have you already got all your gifts wrapped, cards written and posted and been on a diet of mince pies and eggnog for a week?

When I looked out onto the street today, approximately mid-morning, for a moment I thought that maybe the neighbourhood had been evacuated for a gas leak and that somehow we had missed the warning. The road, normally nose-to-tail parked, was totally empty. Not one single car in sight. I sniffed. No gas. But perhaps a whiff of credit card meltdown? Everyone was out shopping! It made me realise I need to get a wriggle on.

So far, I have made some cards, experimented with some ornaments and that is it. No decorations up, gifts bought or anything. We usually have the tree up in the first few days of December. Partly because my sister’s birthday is early in the month and as kids it became a tradition to have the decorations in place by then, and I just carried it on in my own home. Also, partly, because I used to spend a whole weekend putting up elaborate garlands, lights and an enormous tree. If you go to all that effort you don’t want to spend the following weekend taking it all down again. You want to get a few weeks’ worth of twinkle for your exertions!

I don’t invest so much time any more – as long as there are plenty of fairy lights and some sparkle I am good. I really used to object to the amount of time it takes to dismantle and pack everything away!

Anyhoo, today as I was sorting through some boxes I came across a few cards I made last year, but didn’t use. They are a more traditional style, using Anna Griffin products. I know I have said it before, but I do love Anna Griffin style. Very classic, very classy.

ag-red-hollyag-reindeer-bowag-holly-with-script

These were all simple to make. The shapes are already cut out and layered for dimension, you just decide how you want to put them together. The kits usually come with inspiration sheets too. I have to say I cannot remember whether all these combinations are my own, or whether I recreated some of the examples. What I would say is that if anyone is thinking of trying their hand at card making, kits like these, with sentiments, 3d elements and coordinating papers and ribbon are a great way to start and build up your confidence. Lots of different companies offer them, and for all occasions.

These will definitely get used this year!


3D Thursday: sometimes it isn’t rude to point

This is a WIP post. This week I enjoyed reading the results of a couple of Pinterest projects from gillyflower over at Wood So Wild (very cool blog). It is so useful when a ‘real’ person attempts some of these things and lets you know the outcome. I really liked how her sea glass turned out!

As of this morning I had a big fat nothing prepared for 3D Thursday so no post, or a quick project was the order of the day. Nothing like a deadline to sharpen the mind! Then I remembered that a while ago, whilst Pinterbinge-ing (as in looking at Pinterest for way longer than is healthy) I came across a link showing how to make a five-pointed origami star. Hurrah! So gillyflower is my inspiration today and I am very grateful!

I did my searches and found the site here. I watched both the videos – one to make a pentagon and one to make the star, then went for it with a sheet of copier paper to practice. This is the first star I made.

origami-star-white

Not bad, huh? Of course I had to pause the videos several times to catch up: I haven’t done much origami since I was a kid and am a bit rusty. But don’t worry, you definitely do not need a black belt in origami to do this.

Once I had made the initial pentagon shape I was a bit concerned about all the random score lines, but most of them became integral to the star shape. If I was doing a lot of these stars I would probably make some pentagon templates to save a bit of time, but to just get a couple done whilst there was still some daylight available, and in case we get yet another power cut, it was as quick to make them from scratch.

The papers I used are single-sided. Initially I was looking for double-sided as per the website but once I watched the videos I realised you only see one side anyway. Mine are good quality 12 x 12 inch K&Company that my sister bought for me when I started card making. I love them so much I use them sparingly! Actually the quality probably made the folding a bit trickier, so you definitely want to use paper weight only. The end result is better with the quality paper though, so it is swings and roundabouts!

The trickiest bit I found was the very last fold, but it just needs a bit of finagling and you are fine.

origami-star-pair

I had just enough time to get some of my lovely Martha Stewart Smoky Quartz glitter on the edges of one star and take a couple of photos. I was trying to catch the glitter in the sunlight, but no luck. You will just have to believe me when I tell you it looks not too shabby at all.

glitter-star-detailglitter-star-single

So, I made three stars, they all worked, and by the time I was making star three I had most of the fold sequence in my head and could (almost) do it as quick as the demo chap. So it is easy, believe me!

I said at the top they are a WIP, because of course you could add all sorts of things to them. I have an urge for jingle bells on the points. Maybe I am just getting confused with jesters’ hats?