Today I was determined to master my big stripy background stamp. In an earlier post I bored everyone with my struggles (sorry, but that is what the internet is for!). I tried all the tips I was given, and a few of my own devising, but still got a patchy result. Today, it was going to be No Surrender Day. Battle is commenced and I plan to win big.
Using the Versamark ink pad to stamp and emboss had worked, but I didn’t want to have to use embossing powder every time, and also if I want to get a good dark colour I prefer to use coloured pigment ink as well as coloured embossing powder. Or, use a clear powder over the dark ink but then I was back to the problems of inking it up again. Dye pads work best because they are firm, but the ink transfer was not so good. By the time you ink it all up the first part is drying. I inked round a lot of times, but it still didn’t come out great. Pigment ink transfer was better, but because they are squishier (technical term) pads it is really hard not to get ink in the wrong places – particularly with the dotty stamp which has large open areas. It didn’t help that I was using a small black Brilliance dewdrop shaped ink pad though, but the stickiness (another technical term) of this ink had come closest to what I wanted. Basically I need to buy the ink pad in the larger size.
But in the meantime, as I said, today is No Surrender Day. I will not fall victim to my backgrounds!! Then, a thought. Hurrah. About time too. What if I ink it first with the Versamark, then use a dye pad over the top without cleaning it, so mix the stickiness of Versamark with the wetness of a dye pad? I don’t suppose it will do my dye ink pad much good, but I’d rather sacrifice one for the sake of battle, in order to win the war.
And guess what? It worked pretty darn good!
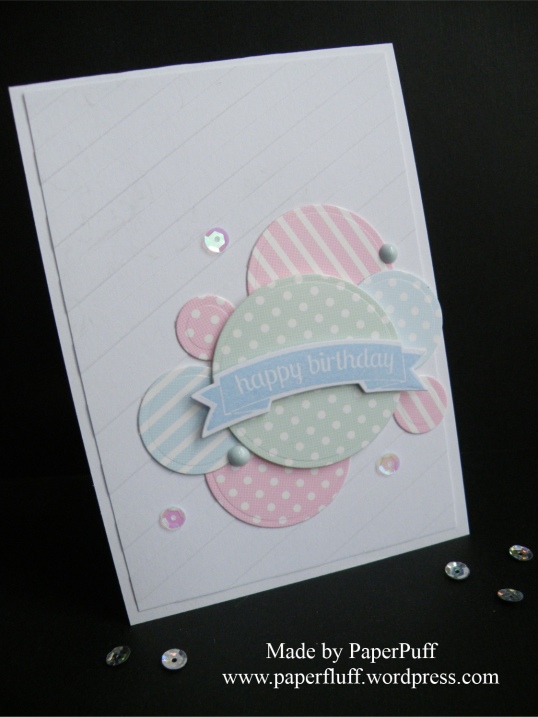
Now though I was running out of time, so this is basically also a ‘same card but different’ day, made with what I had to hand and in a layout I know works OK. But I don’t care. I have solved a problem, I get to use my lovely, lovely stamp and everything can be covered with stripes.
Or spots. Because it was also a day I wanted to make two cards if possible. Smug from the earlier sucess I decided to just do something quick and simple. Now that I had made my point I could be magnanimous in victory. Plus I really wanted some lovely shiny gold spots! So I use an ancient but still totally fine Encore gold ink pad and some gold embossing powder, plus one of the first dies I ever bought. To be honest by this stage I was thinking ‘just stick something on it and quit’. So I did! Clearly I would have made a lousy General.